In a previous article: How to Install WordPress on your computer, we have already installed WordPress on a computer, and the installation is easy, with a simple process that it takes few minutes to complete.
In this article we do not cover the steps to get a server for your website, we will explain the steps based on a Plesk offered by DigitalOcean.com (If you sign up to DigitalOcean You will get a $200, 60-day credit to try their products. If you will spend $25 after your credit expires we as a referred will get $25 in credit, this will help us to manage our website and create new articles).
Steps to install the WordPress
You need to follow some steps in order to be able to install the WordPress website. The steps are mandatory and you can not install a WordPress website skipping one of the following steps:
- Create a database for your website.
- Download WordPress files from the Official WordPress Website.
- Upload the files to the root folder.
- Run the Install script.
- Check your website.
Let’s start.
Create a database
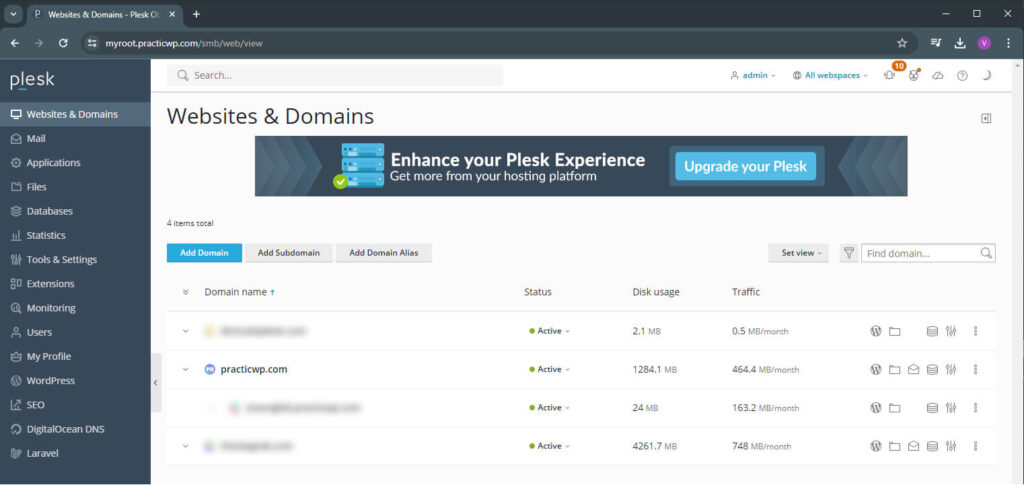
In order to create a database, we need to have access the Databases menu from our Plesk and select your domain name (your website name), and you will have access to the option to add a new database.

Now, we have access to the “Add Database” button, and you will be redirected to a new page where you need to fill up the empty fields that are shown in the image bellow.
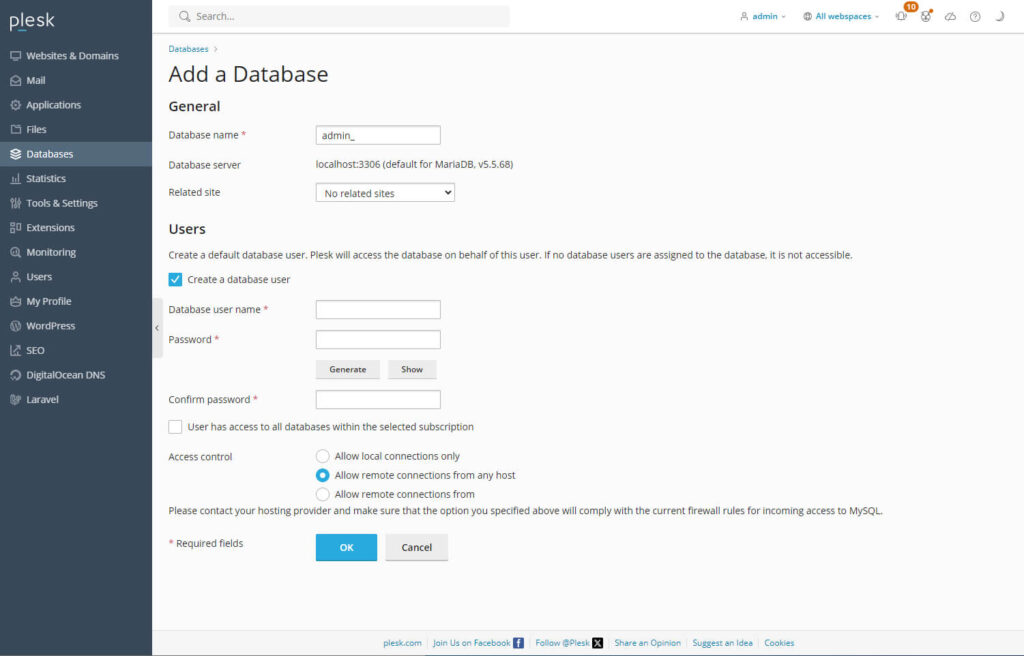
In the “Database name” field, you need to write the database name for your WordPress website, we recommend to use a descriptive name, as you may have more than one website and this will help you in the future to maintain the databases, also you are not allowed to use spaces in your database name, the spaces need to be replaced by “_” underscore character.
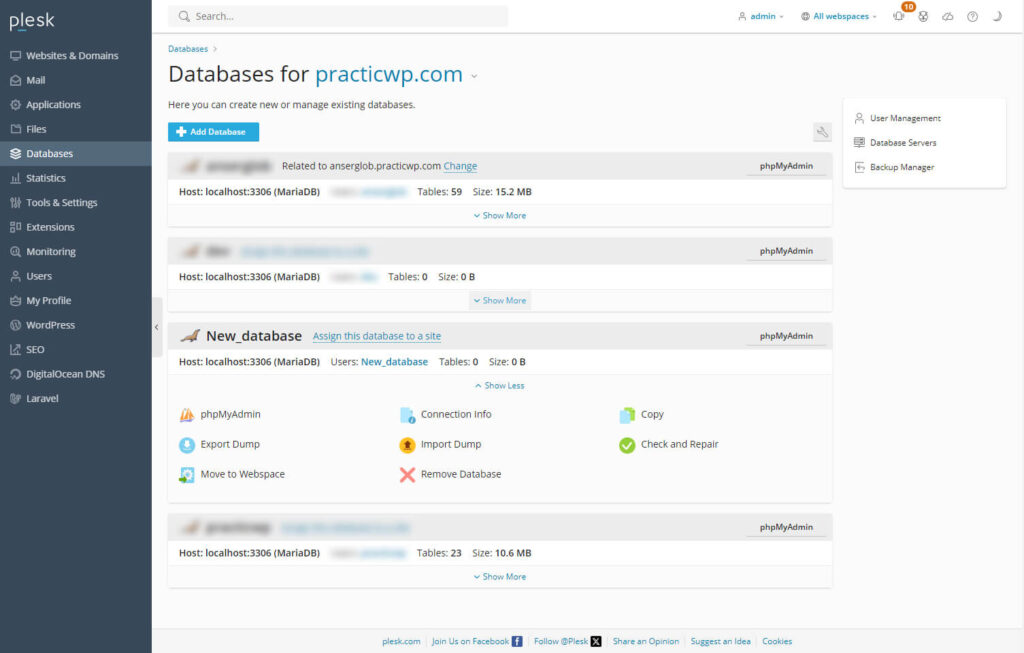
In our case we have created a database named “New_database“.
Also, you should select the right encoding for your website, this is crucial if the language your website will be is using special characters, if you will not indicate the correct encoding then you will have strange characters displayed on your website instead the special characters used by the language. In our case I will let as it is, the utfmb4_general_ci.
What we obtain is a blank database without any tables, but don’t worry, WordPress will create all the necessary tables for us in the following steps.
Also, you will need to create a username and a password for your database, make sure that your user created have all privileges for database. And then next step you should now have the following your database name, your database username, your database password, and granted user privileges to the database.
Downloading the WordPress files
We have the database created, but we also need a location where do unzip the WordPress files that we need to download from Official WordPress Website.
After the files are downloaded we will unzip the WordPress files to be prepared to upload them on our server.
Once the files are unzipped you should have something similar to the screenshot below:
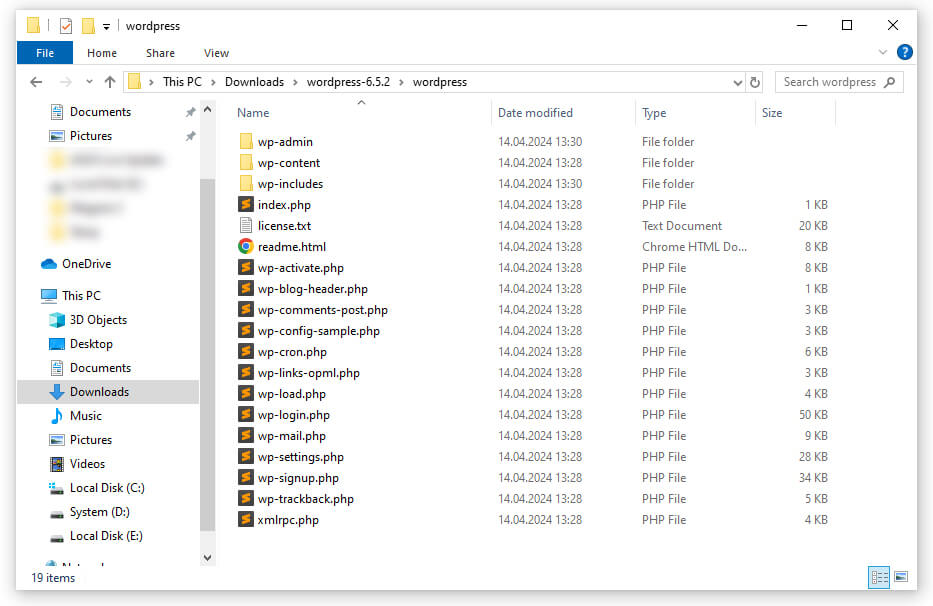
Now that we have WordPress files already on our computer, we need to upload them on the server, there are couples of ways to do it, but with the DigitalOcean.com droplet and Plesk you have the opportunity to easily upload your files by just drag and drop them into the right root folder of your server.
Now that we have our WordPress files uploaded to the server and our database setup, we can move on to the last step of the installation process walking through the install script.
WordPress install script
The WordPress install script is a series of steps offered by WordPress where you need to select and set the options for configuring WordPress.
You can access the install script by using your browser to go to the URL where you have the WordPress files uploaded.
Open a new tab in your browser and type: https://yourwebsitename.com (change to your domain name) and hit Enter button. You will be redirected to a WordPress configuration steps of the WordPress install script, were you will select the website language:
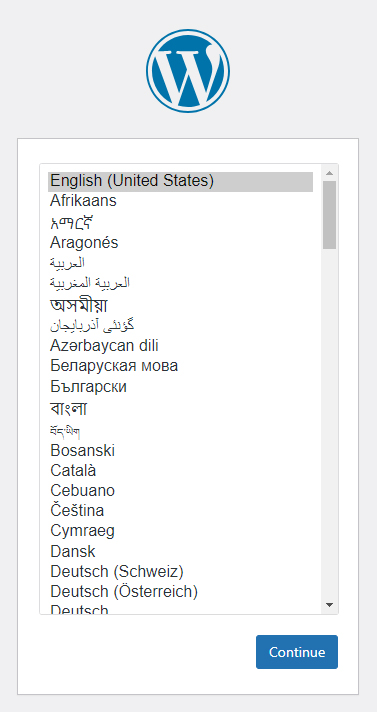
After you click the continue button you will see a page with some instructions, and the information you will need to have after you hit the Let’s Go! button.
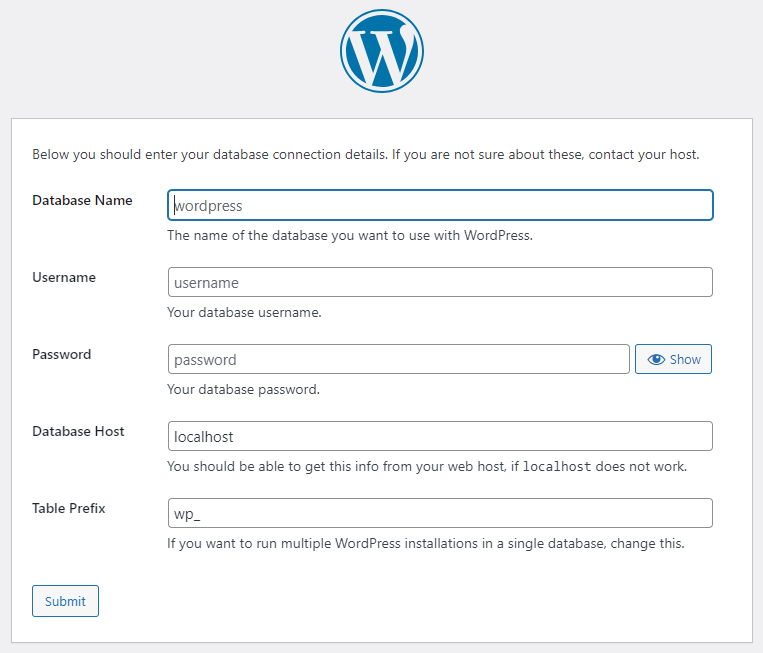
In the empty labels you need to fill in the following information:
- Database Name – the database name you have indicated when we have created a blank database in the phpMyAdmin console;
- Username – is the username for the database, that we have created earlier;
- Password – that was generated at the step of creating the user for database or that you have indicated;
- Database Host – is the localhost;
- Table Prefix – wp_ (is the default one) but you can set a different one, just make sure to not use blank spaces;
If you have filled all the information correctly then after you click the Submit button you will see the following message and you need to move forward and click the “Run the installation” button.
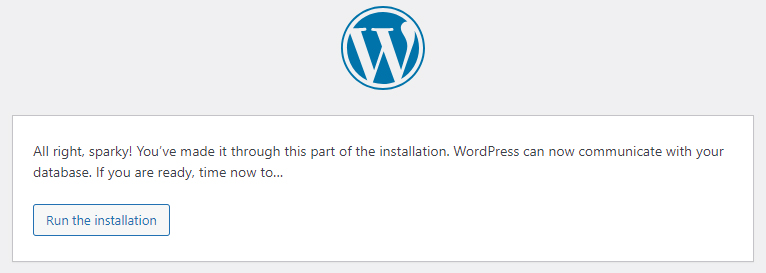
Alright, we have just few more steps to do and some more labels to complete and we will have the WordPress running on our computer.
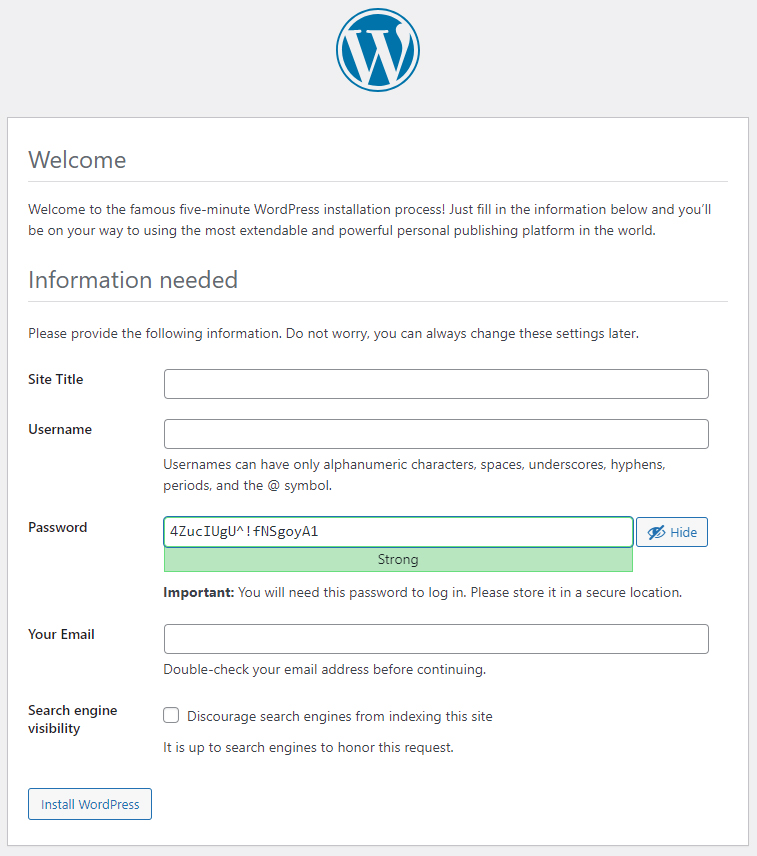
You need to complete the empty labels:
- Site Title – is the website name that will be displayed;
- Username – is the name of your user, you will need the username to fill on the log in page;
- Password – you may change it to something more simple as you will run this WordPress on your computer, or you can memorize the password provided;
- Your Email – use the email address that you have access to, as it will be your main admin email;
- Search engine visibility (checkbox) – privacy checkbox adds a code to your site, like a robots.txt file that gives information to the search engines on whether or not to index the content of your site. Note: If you are at the start and just build a site, you should leave the checkbox unchecked. Don’t worry, at the end of setting up your site and when you will be sure that it’s ready for the general public, you can update this setting under Settings reading search engine visibility.
You should use a different username and password to use to log into your WordPress site, than the username and password you have used for your database setup. Also, you need to make sure to enter in the correct and a valid email address (WordPress is using the email for sending notification including for password reset).
If you have filled in all the required and recommended data in the empty fields you may hit the “Install WordPress” button, if you have done all correctly then you should see the following message.
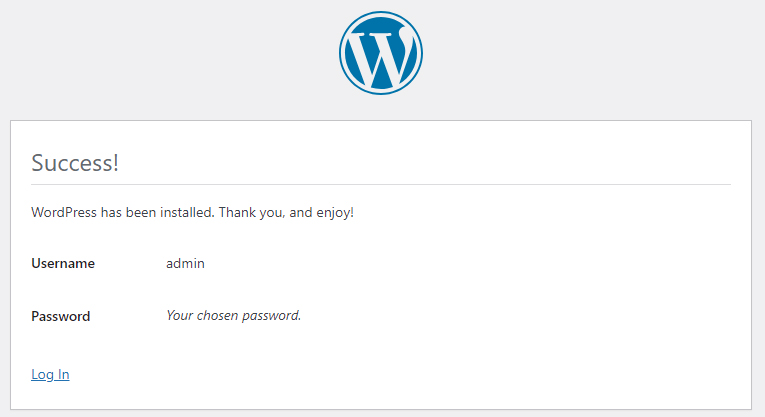
Congratulations! You have completed the WordPress installation process, you can log in accessing the link in the left down corner and fill your username and password, or you can open a new tab in your browser and type: https://yourwebsitename.com/wp-admin or https://yourwebsitename.com/wp-login.php and you will be redirected to the log in form page.
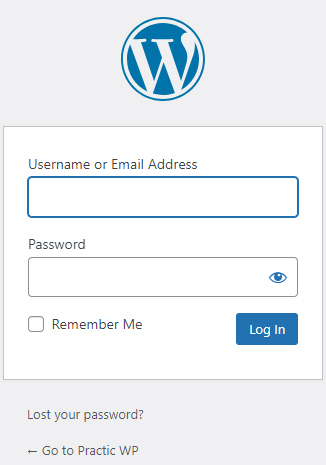
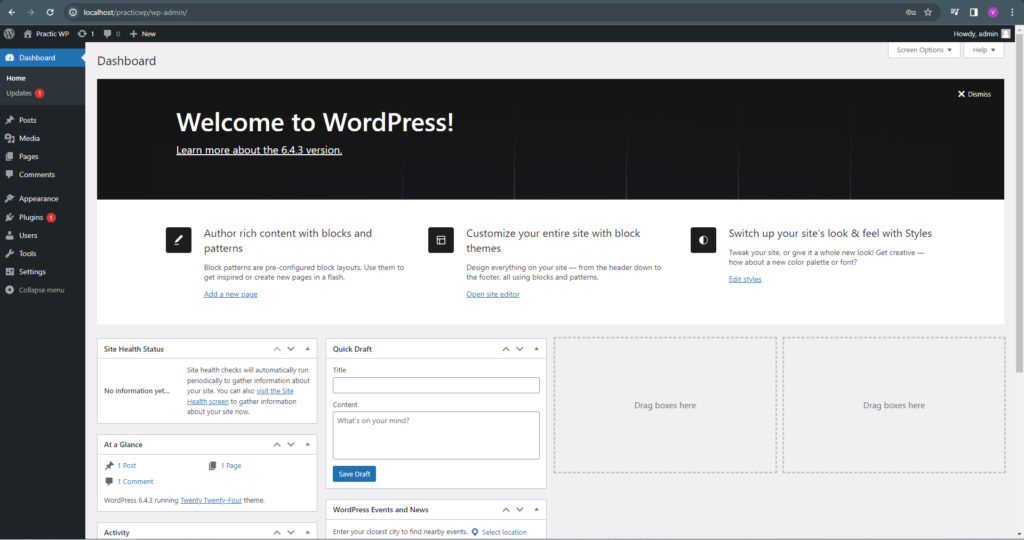
If you log in with your credentials you will have access to the backend of the WordPress website:
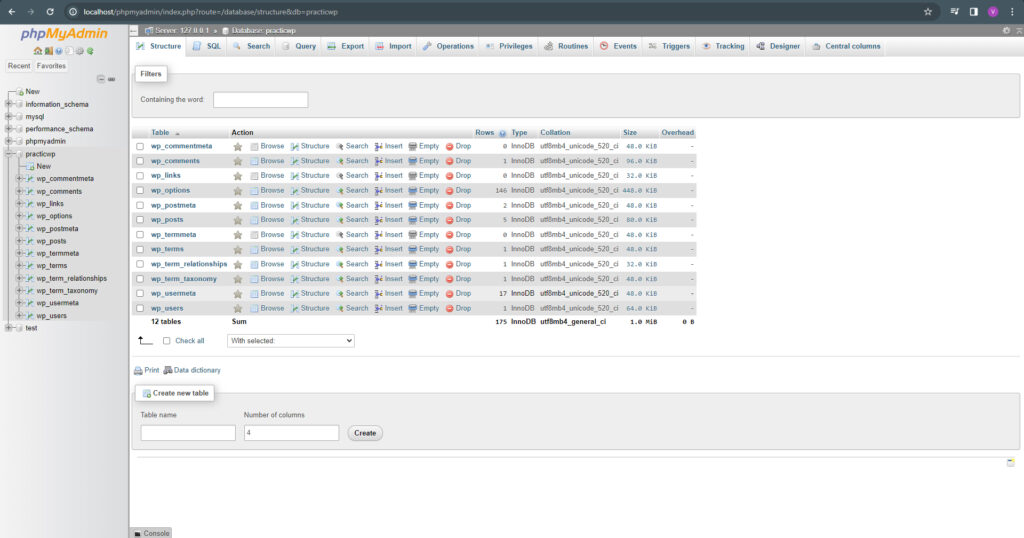
Also, if you remember at the step when we have created the database in phpMyAdmin console, the database was blank, empty, without any tables, but try to access now the phpMyAdmin console and check the database we have created, you should see something like this:
Another way to install the WordPress website
The above method is simple and user friendly with explanation for all the steps you need to take in order to install a WordPress website, but there is also another method.
The second method is also simple one, all you need to do is to change just few rows in a single file and save the file with the name wp-config.php.
In our case, if you will check the folder with WordPress files you will see that the WordPress installation system has already created a new file wp-config.php in which are stored all the data we have filled in earlier. If you will open the file with a text editor (I use Sublime Text code editor) you can see that information we have fill in during the WordPress installation process are available in the file on a specific rows.
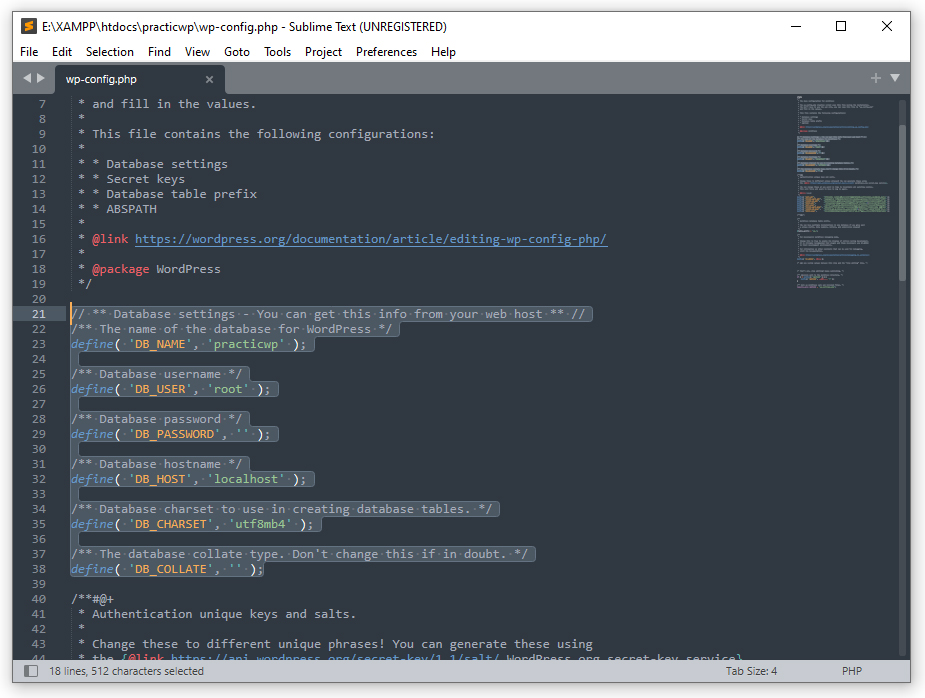
If you will want to install the WordPress with the second method, you just will have to open the wp-config-sample.php file available in the unzipped WordPress files, and fill in the corresponding information the following rows:
// ** Database settings - You can get this info from your web host ** //
/** The name of the database for WordPress */
define( 'DB_NAME', '' );

/** Database username */
define( 'DB_USER', '' );

/** Database password */
define( 'DB_PASSWORD', '' );

/** Database hostname */
define( 'DB_HOST', '' );

/** Database charset to use in creating database tables. */
define( 'DB_CHARSET', 'utf8mb4' );

/** The database collate type. Don't change this if in doubt. */
define( 'DB_COLLATE', '' );
and save the file as wp-config.php and you will be able to access the log in page and the backend of the WordPress website.
Make sure to delete the file wp-config-sample.php after you have filed in the required data and saved with another name, this is a required step so other users to not have possibility to get access to your website.
The most common installation problems
You can check some of the most common installation problems at the following resources: FAQ Installation and FAQ Troubleshooting.

